I Published This with Drag and Drop using Vrite
For many developers, blogging and technical writing play a key role in building their portfolio, sharing their projects, and for some — even in their day-to-day work. That’s why developer-centric platforms like DEV and Hashnode, and even more general ones, like Medium, are full of interesting technical content. The only problem with technical writing is in the actual writing and publishing process.
For blogs, the editing experience varies from platform to platform, and things like cross-posting require a lot of effort (and copy-pasting) to adjust your content to each platform’s unique quirks.
On the other hand, more complex technical writing (when working on e.g. product documentation, or knowledge bases) often involves custom content that’s unique to your publication and isn’t supported in any kind of writing tool or CMS.
You’re left with Markdown which, while being pretty good for basic needs, is very limited, and usually requires various extensions and supersets to fit your needs (MDX, Markdoc, etc.). Also, MD might not be great for everyone (especially when writing longer pieces) and doesn’t provide the same experience as a modern WYSIWYG editor like Notion.
These reasons (and many others) are why I decided to create Vrite - an open-source developer content platform.
Vrite (v0.4)
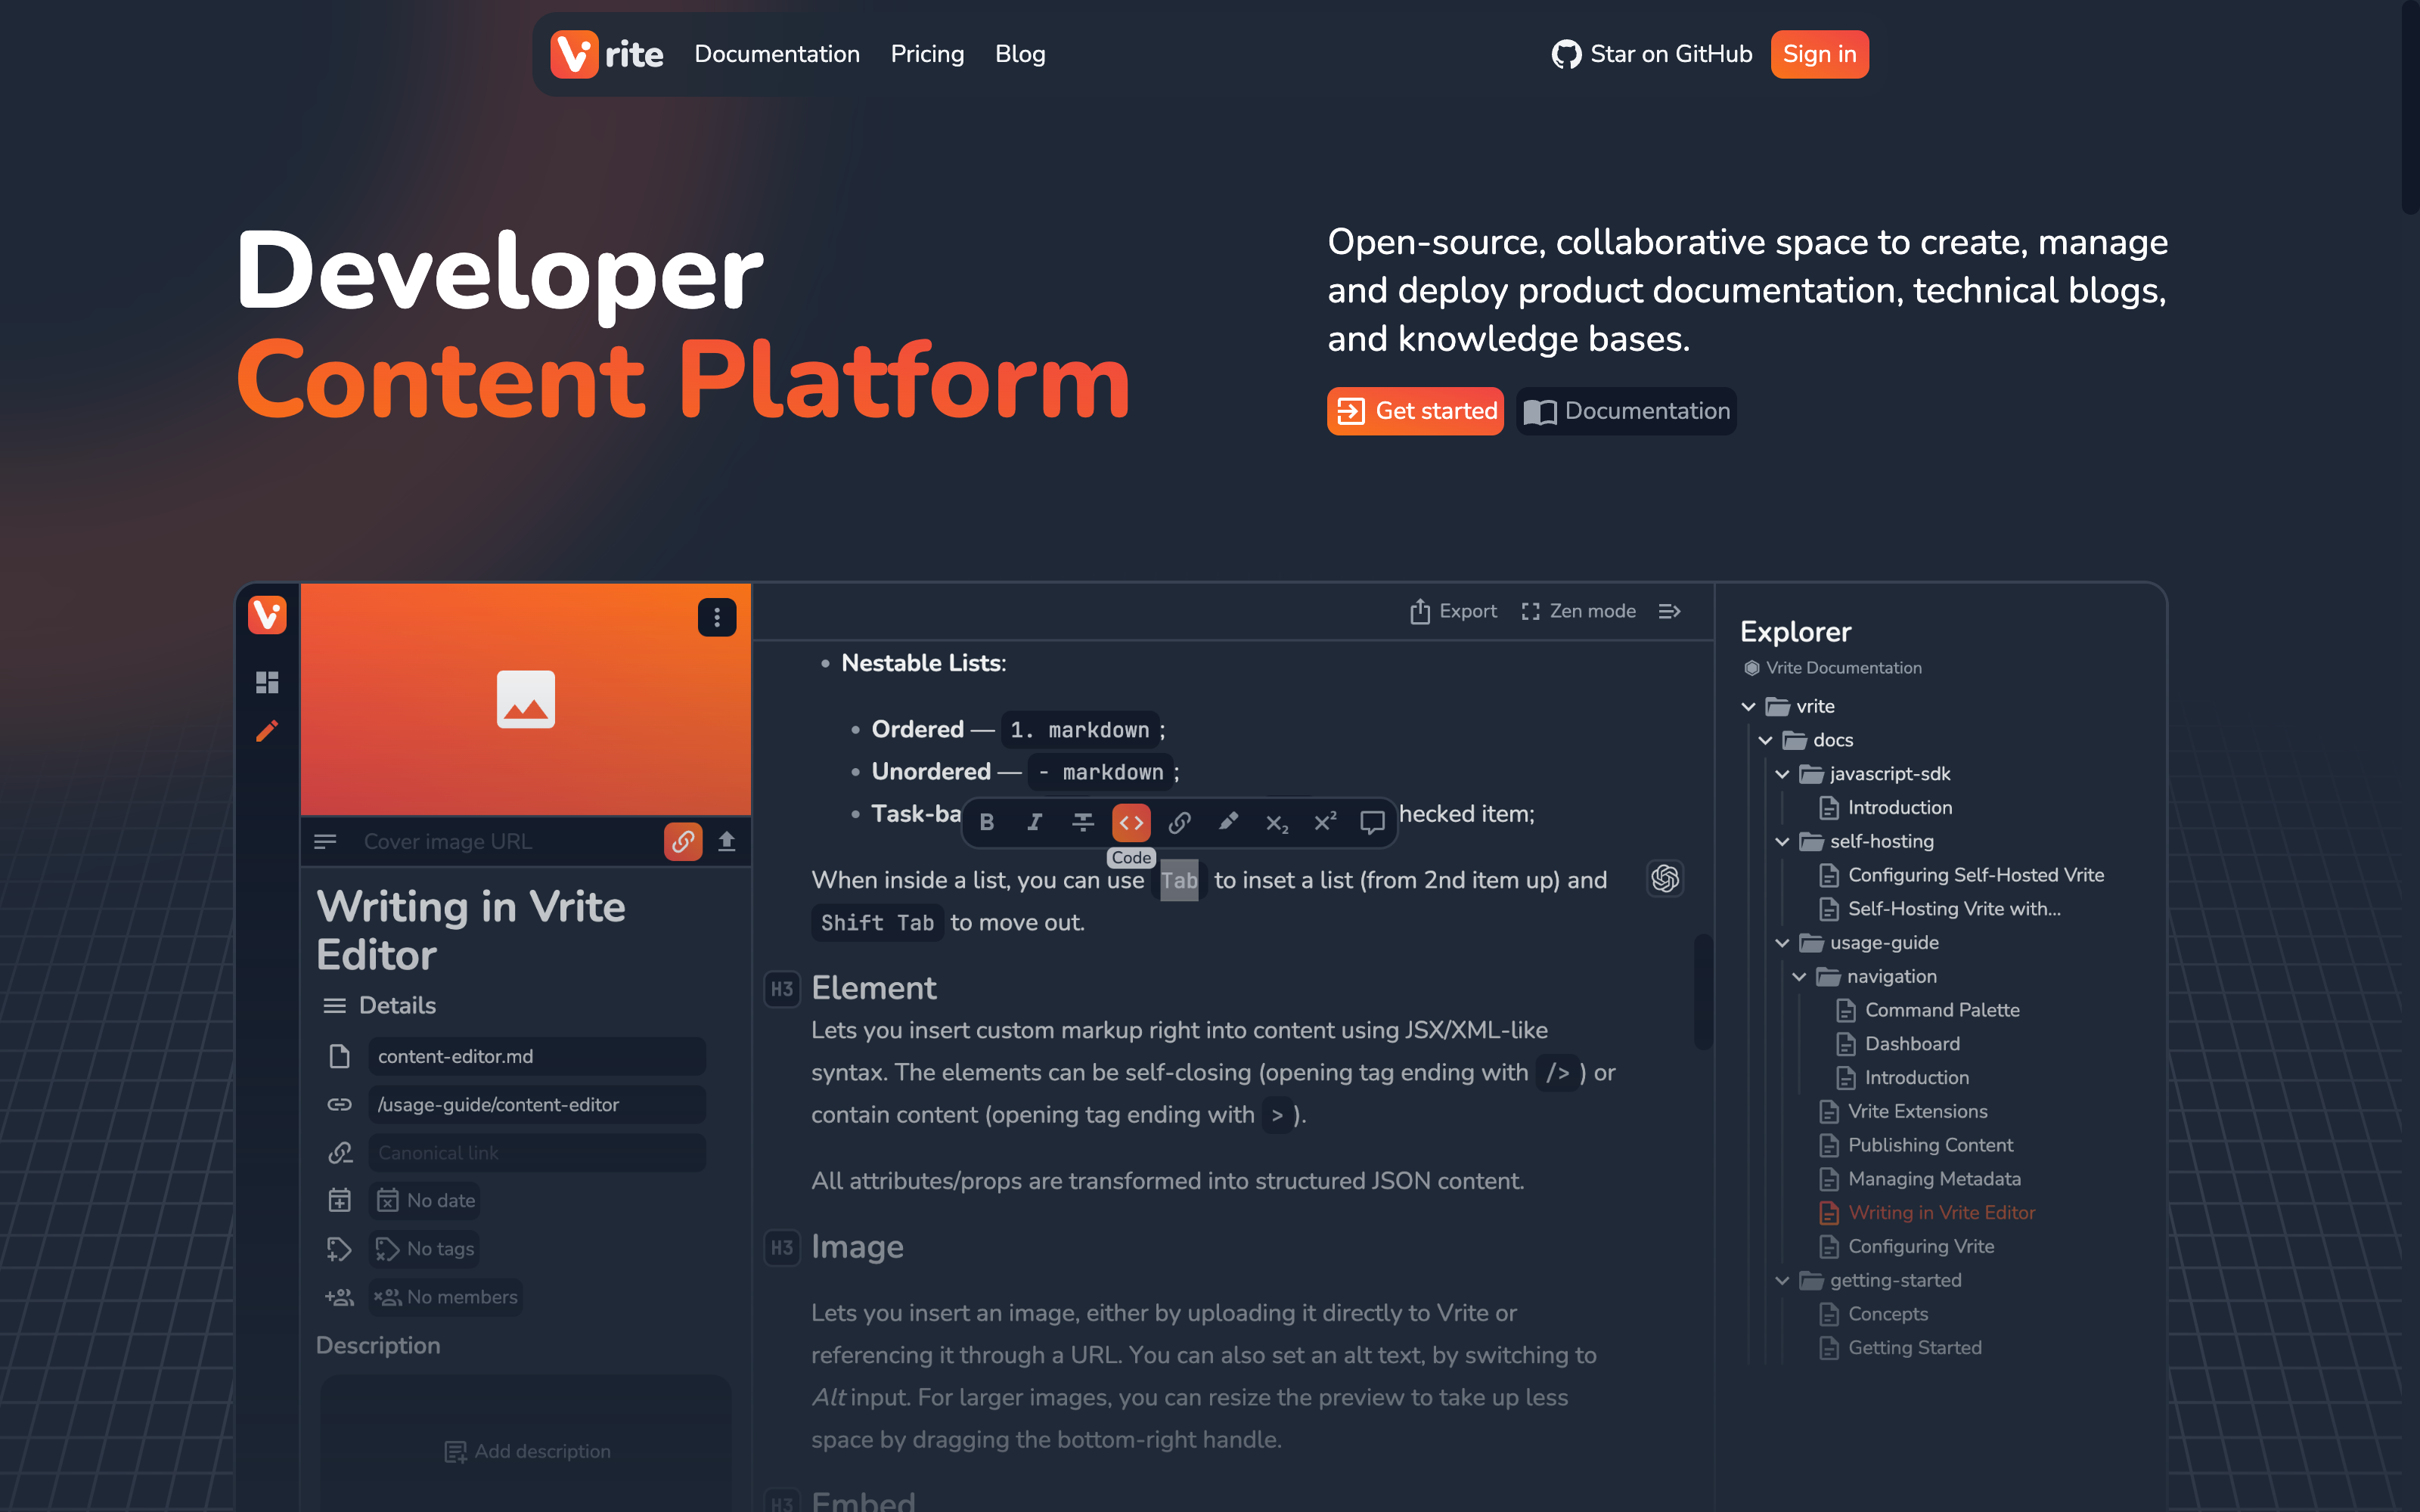
With tons of built-in features, including:
Content management dashboard (with Kanban and Table views);
Embedded Monaco Editor with Prettier formatter;
Hybrid WYSIWYG editor with real-time collaboration;
Vector search (with AI question-answering);
Bi-directional Git Sync;
Vrite is meant to be the most versatile and extensible CMS-like platform for all your technical content needs.
Extension System
With the latest v0.4.x, among many other features and improvements, the focus is on a new extension system.
An extension system is a key feature to make sure Vrite is able to handle pretty much any technical writing use case. From improving publishing (and cross-posting) to extending the capabilities of the WYSIWYG editor, a powerful extension system is the future of Vrite.
The goal is to make creating extensions not much more difficult than creating e.g. a React component, while making sure the extensions are sandboxed and secure.
To give you a sample of the extension API, here’s a snippet from a “first-party” Dev.to extension:
/** @jsx createElement */
/** @jsxFrag createFragment */
import {
  Components,
  createView,
  createTemp,
  createFunction,
  createRuntime,
  ExtensionConfigurationViewContext,
  ExtensionContentPieceViewContext,
  createElement,
  createFragment,
} from '@vrite/sdk/extensions';

type Config = {
  // ...
};
type ContentPieceData = {
  // ...
};
export default createRuntime<Config>({
  onUninstall: createFunction(async ({ client }) => {
    // ...
  }),
  onConfigure: createFunction(async ({ client, config, spec }) => {
    // ...
  }),
  configurationView: createView<ExtensionConfigurationViewContext<Config>>(
    ({ use }) => {
      const [apiKey] = use('config.apiKey');
      const [organizationId] = use('config.organizationId');
      const [autoPublish, setAutoPublish] = use('config.autoPublish');
      const [contentGroupId, setContentGroupId] = use('config.contentGroupId');
      const [requireCanonicalLink] = use('config.requireCanonicalLink');
      const [draft] = use('config.draft');

      // ...

      return (
        <>
          <Components.Field
            type="text"
            color="contrast"
            label="API key"
            placeholder="API key"
            bind:value={apiKey}
          >
            Your Dev.to API key. You can generate one in the [settings
            page](https://dev.to/settings/extensions), under **DEV Community API
            Keys** section
          </Components.Field>
          {/* ... */}
        </>
      );
    },
  ),
  contentPieceView: createView<
    ExtensionContentPieceViewContext<Config, ContentPieceData>
  >(({ config, token, extensionId, notify, use, flush }) => {
    // ...
  }),
});
Speaking of which… this entire post was written in Vrite and published with a simple drag and drop using the Dev.to extension!
If you’re interested in trying it out for yourself, check out Vrite Cloud and the official docs (if you’re wondering, yes — they were also written in Vrite, and published via Git Sync).
Using The Dev.to Extension
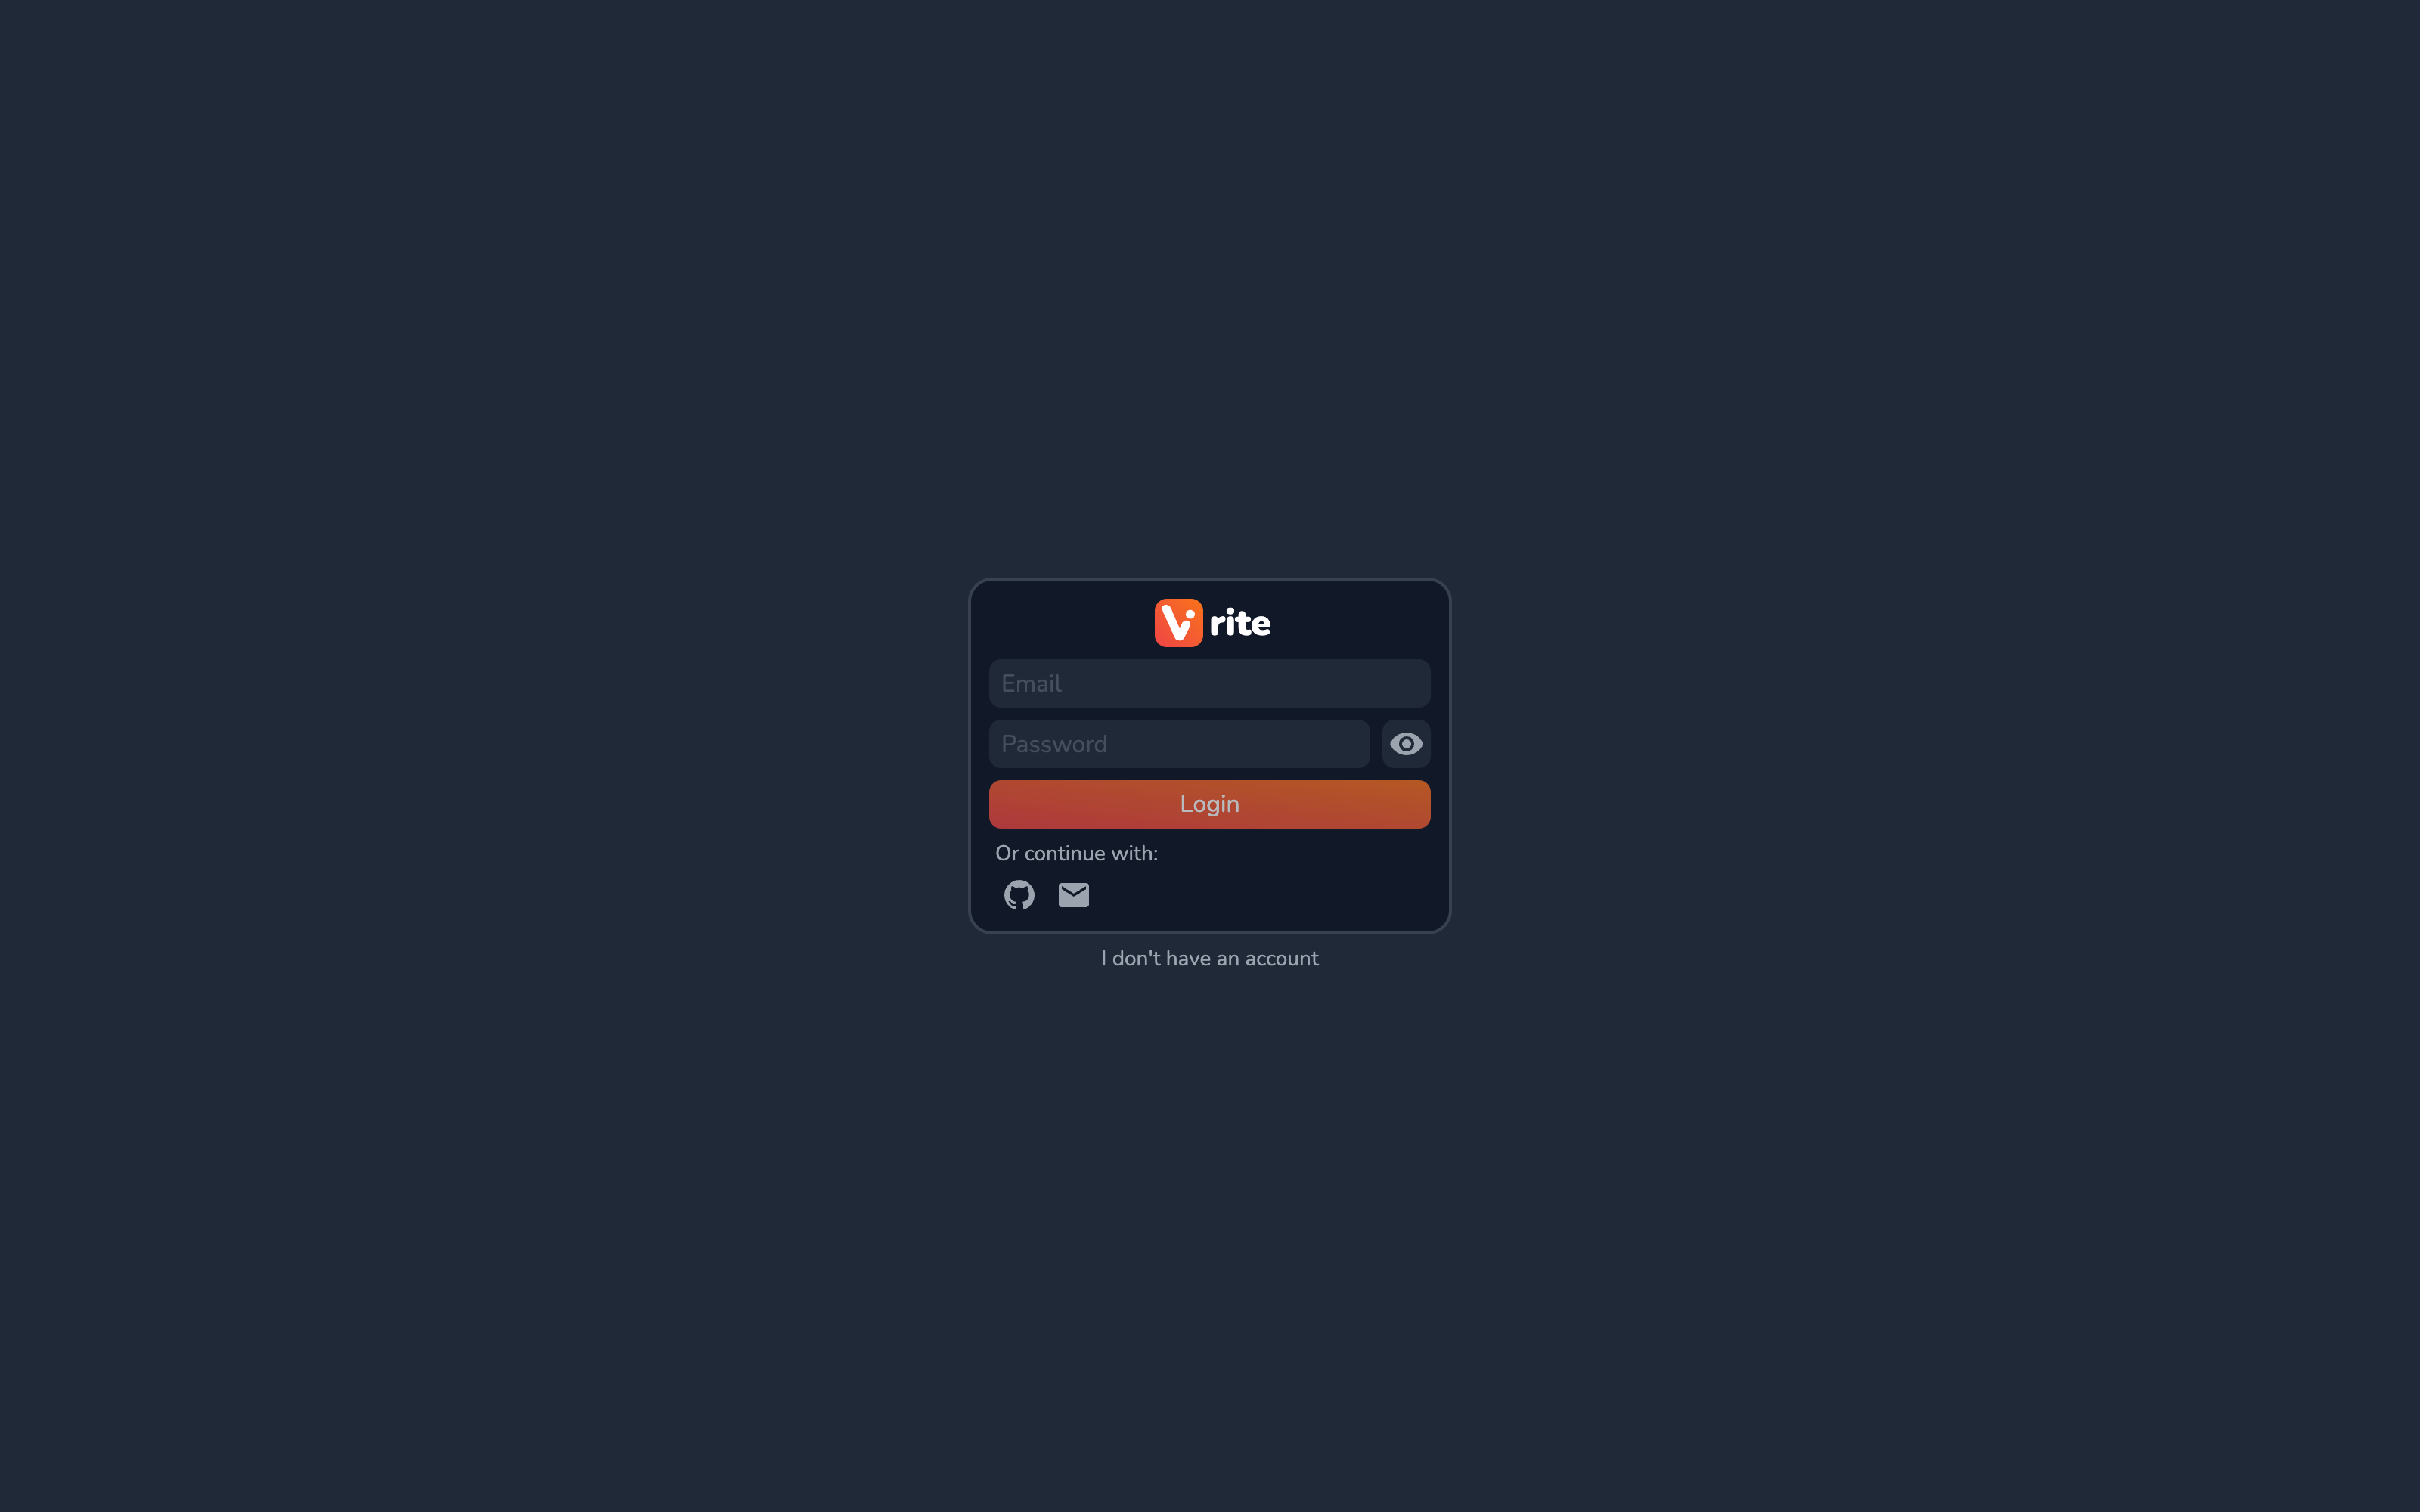
Start by signing into Vrite.
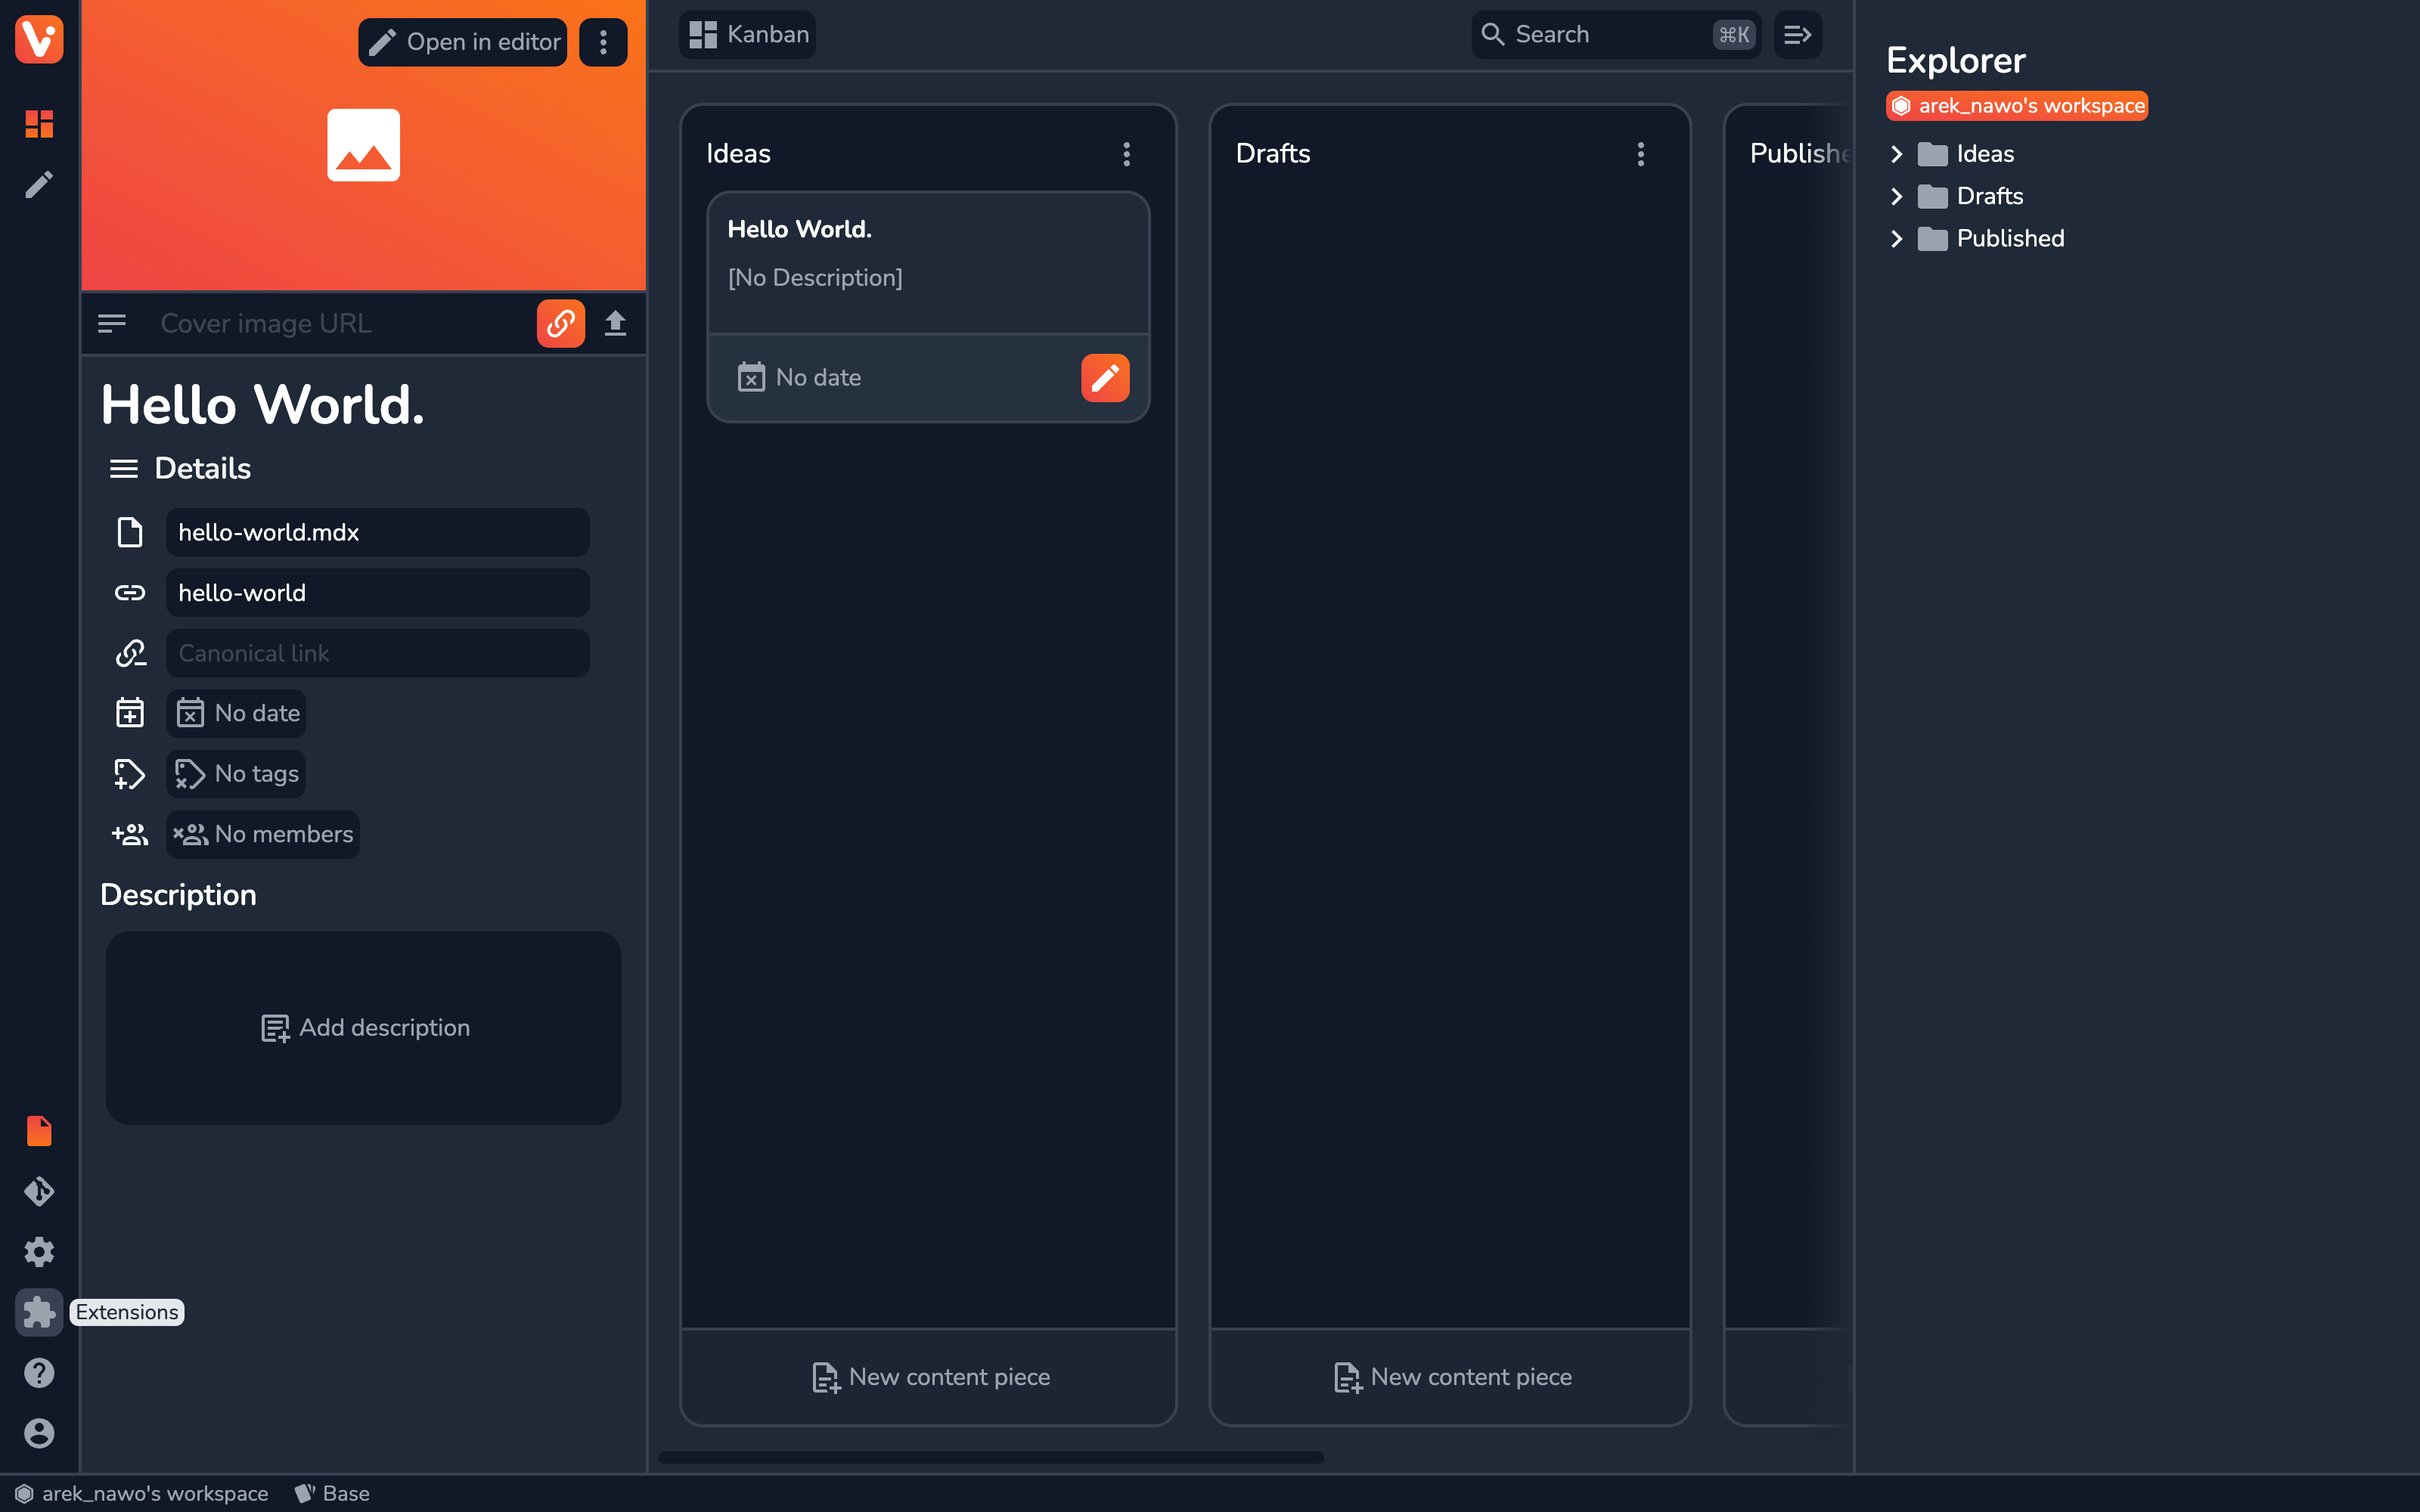
Then go to the Extensions side panel.
Installation
From the Extensions side panel, in the Available section, find Dev.to and click Install.
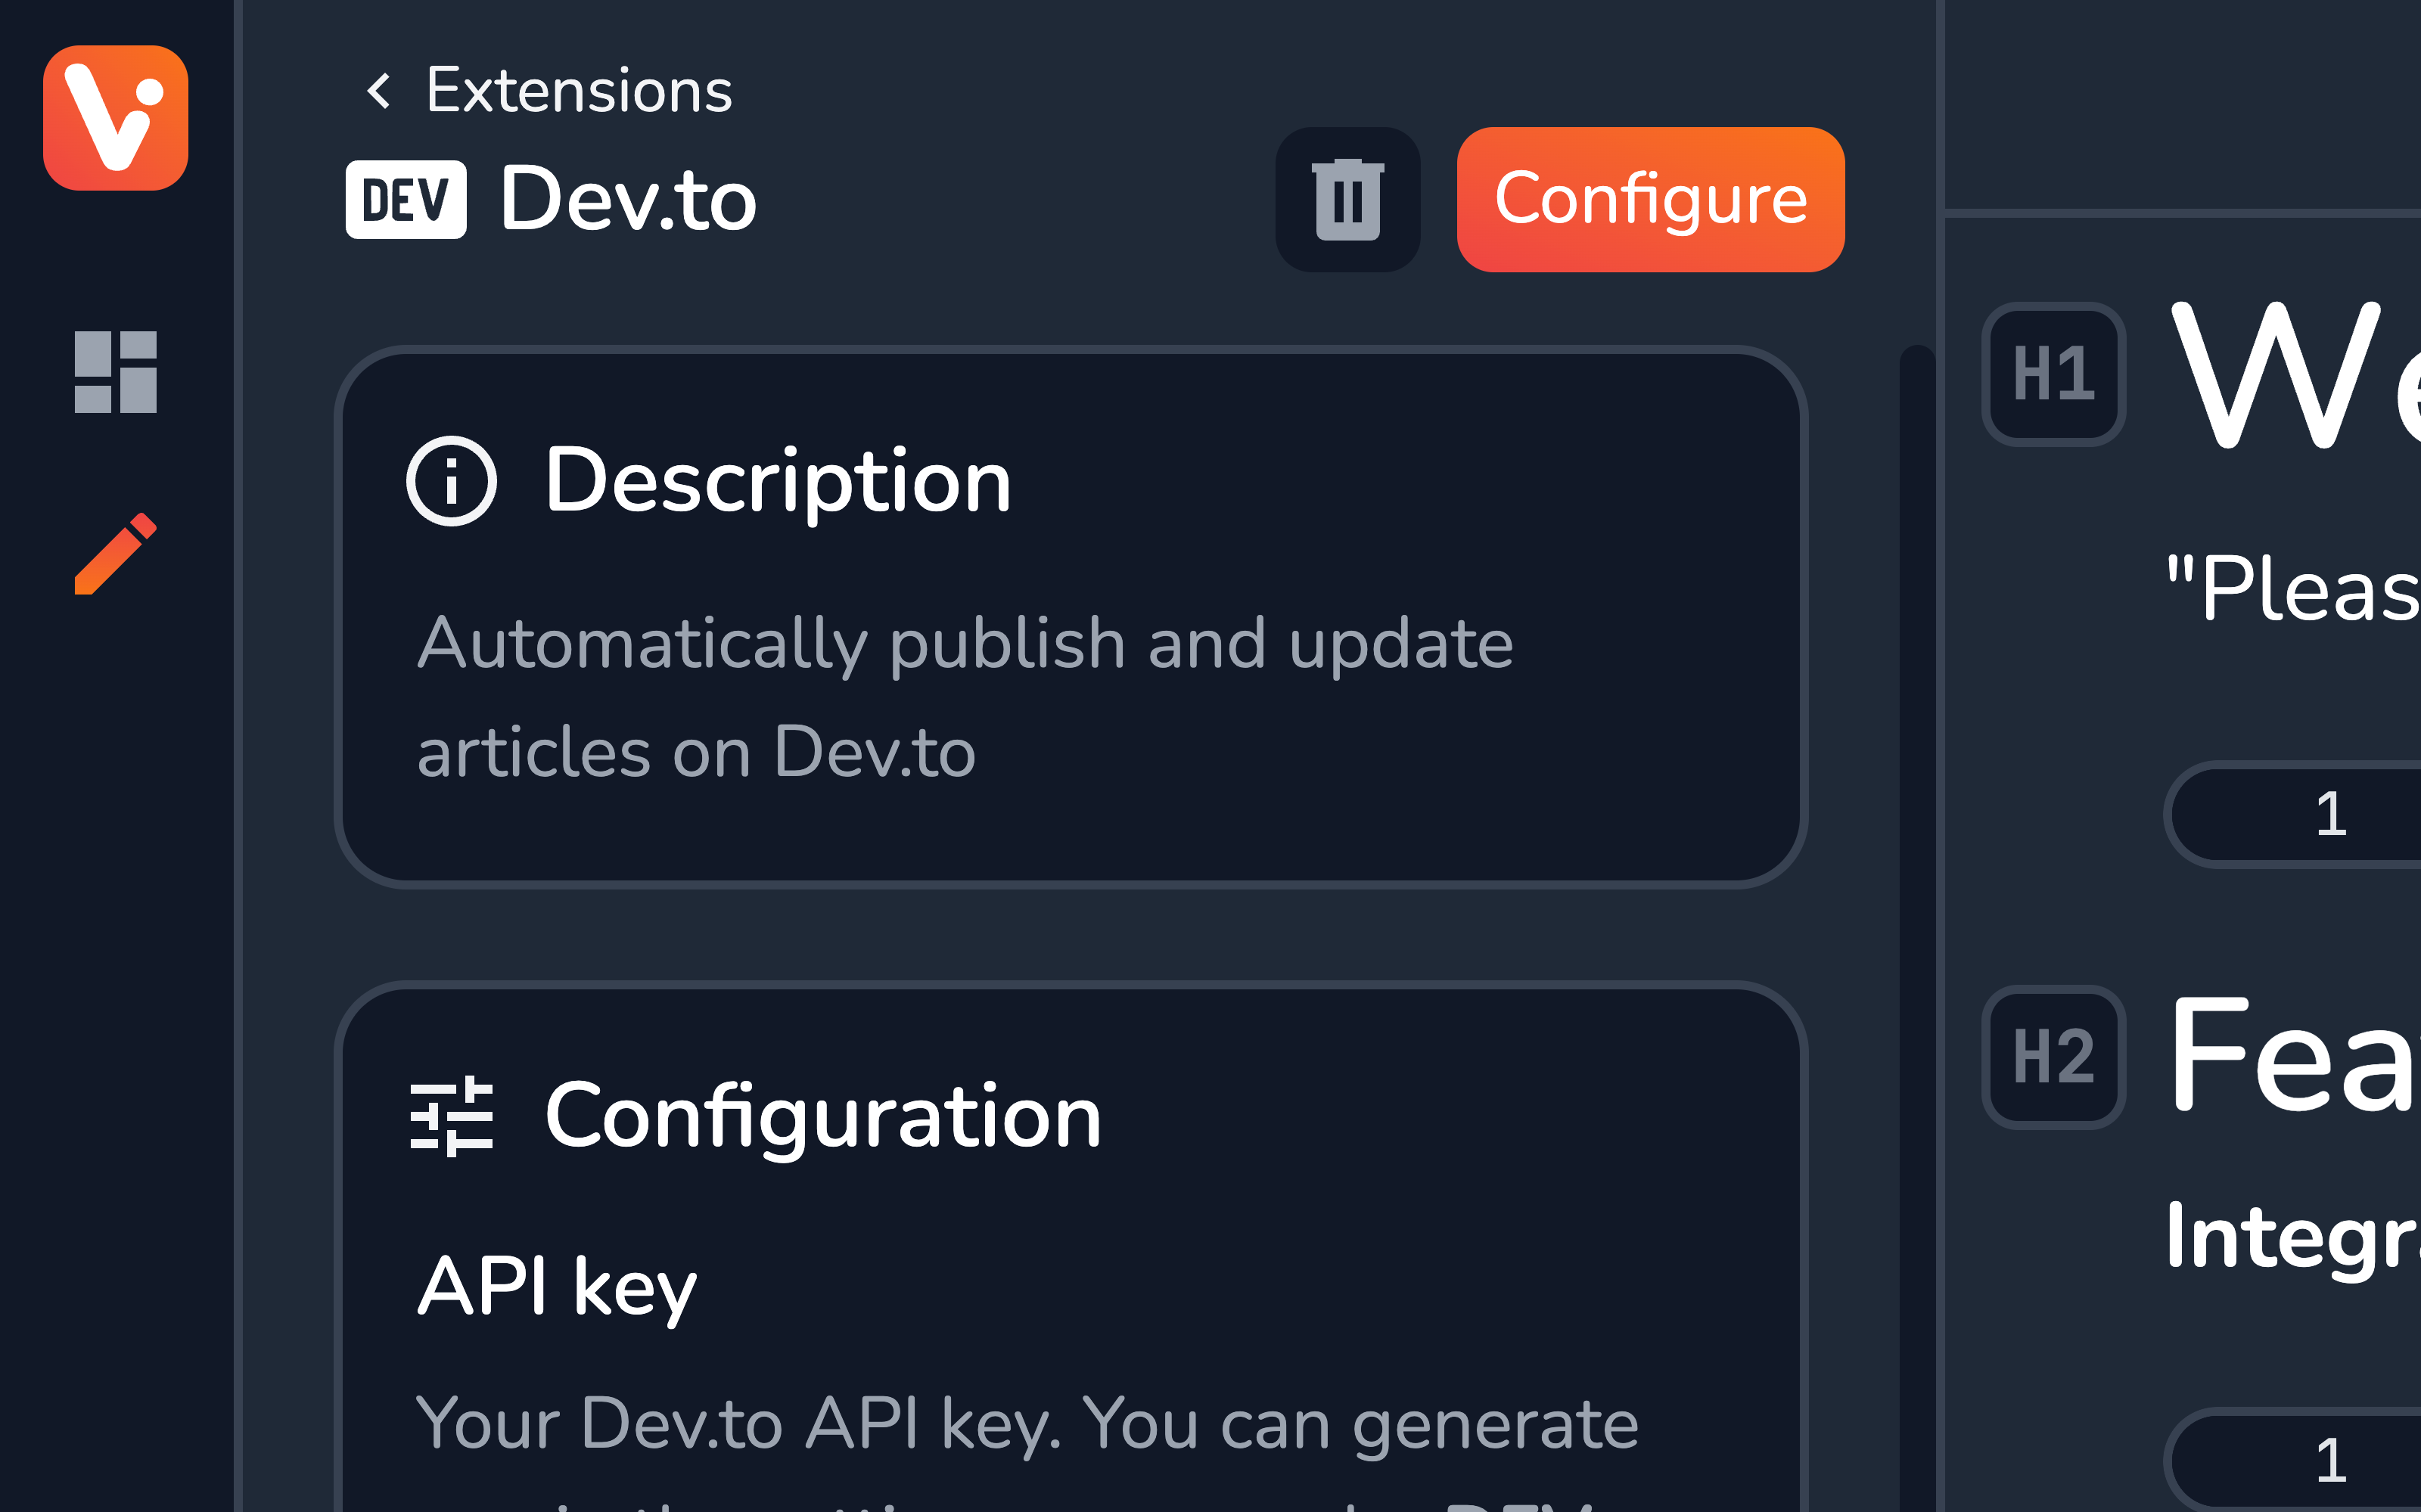
Configuration
The Dev.to extension has a few options you have to configure to fully activate it.
API Key
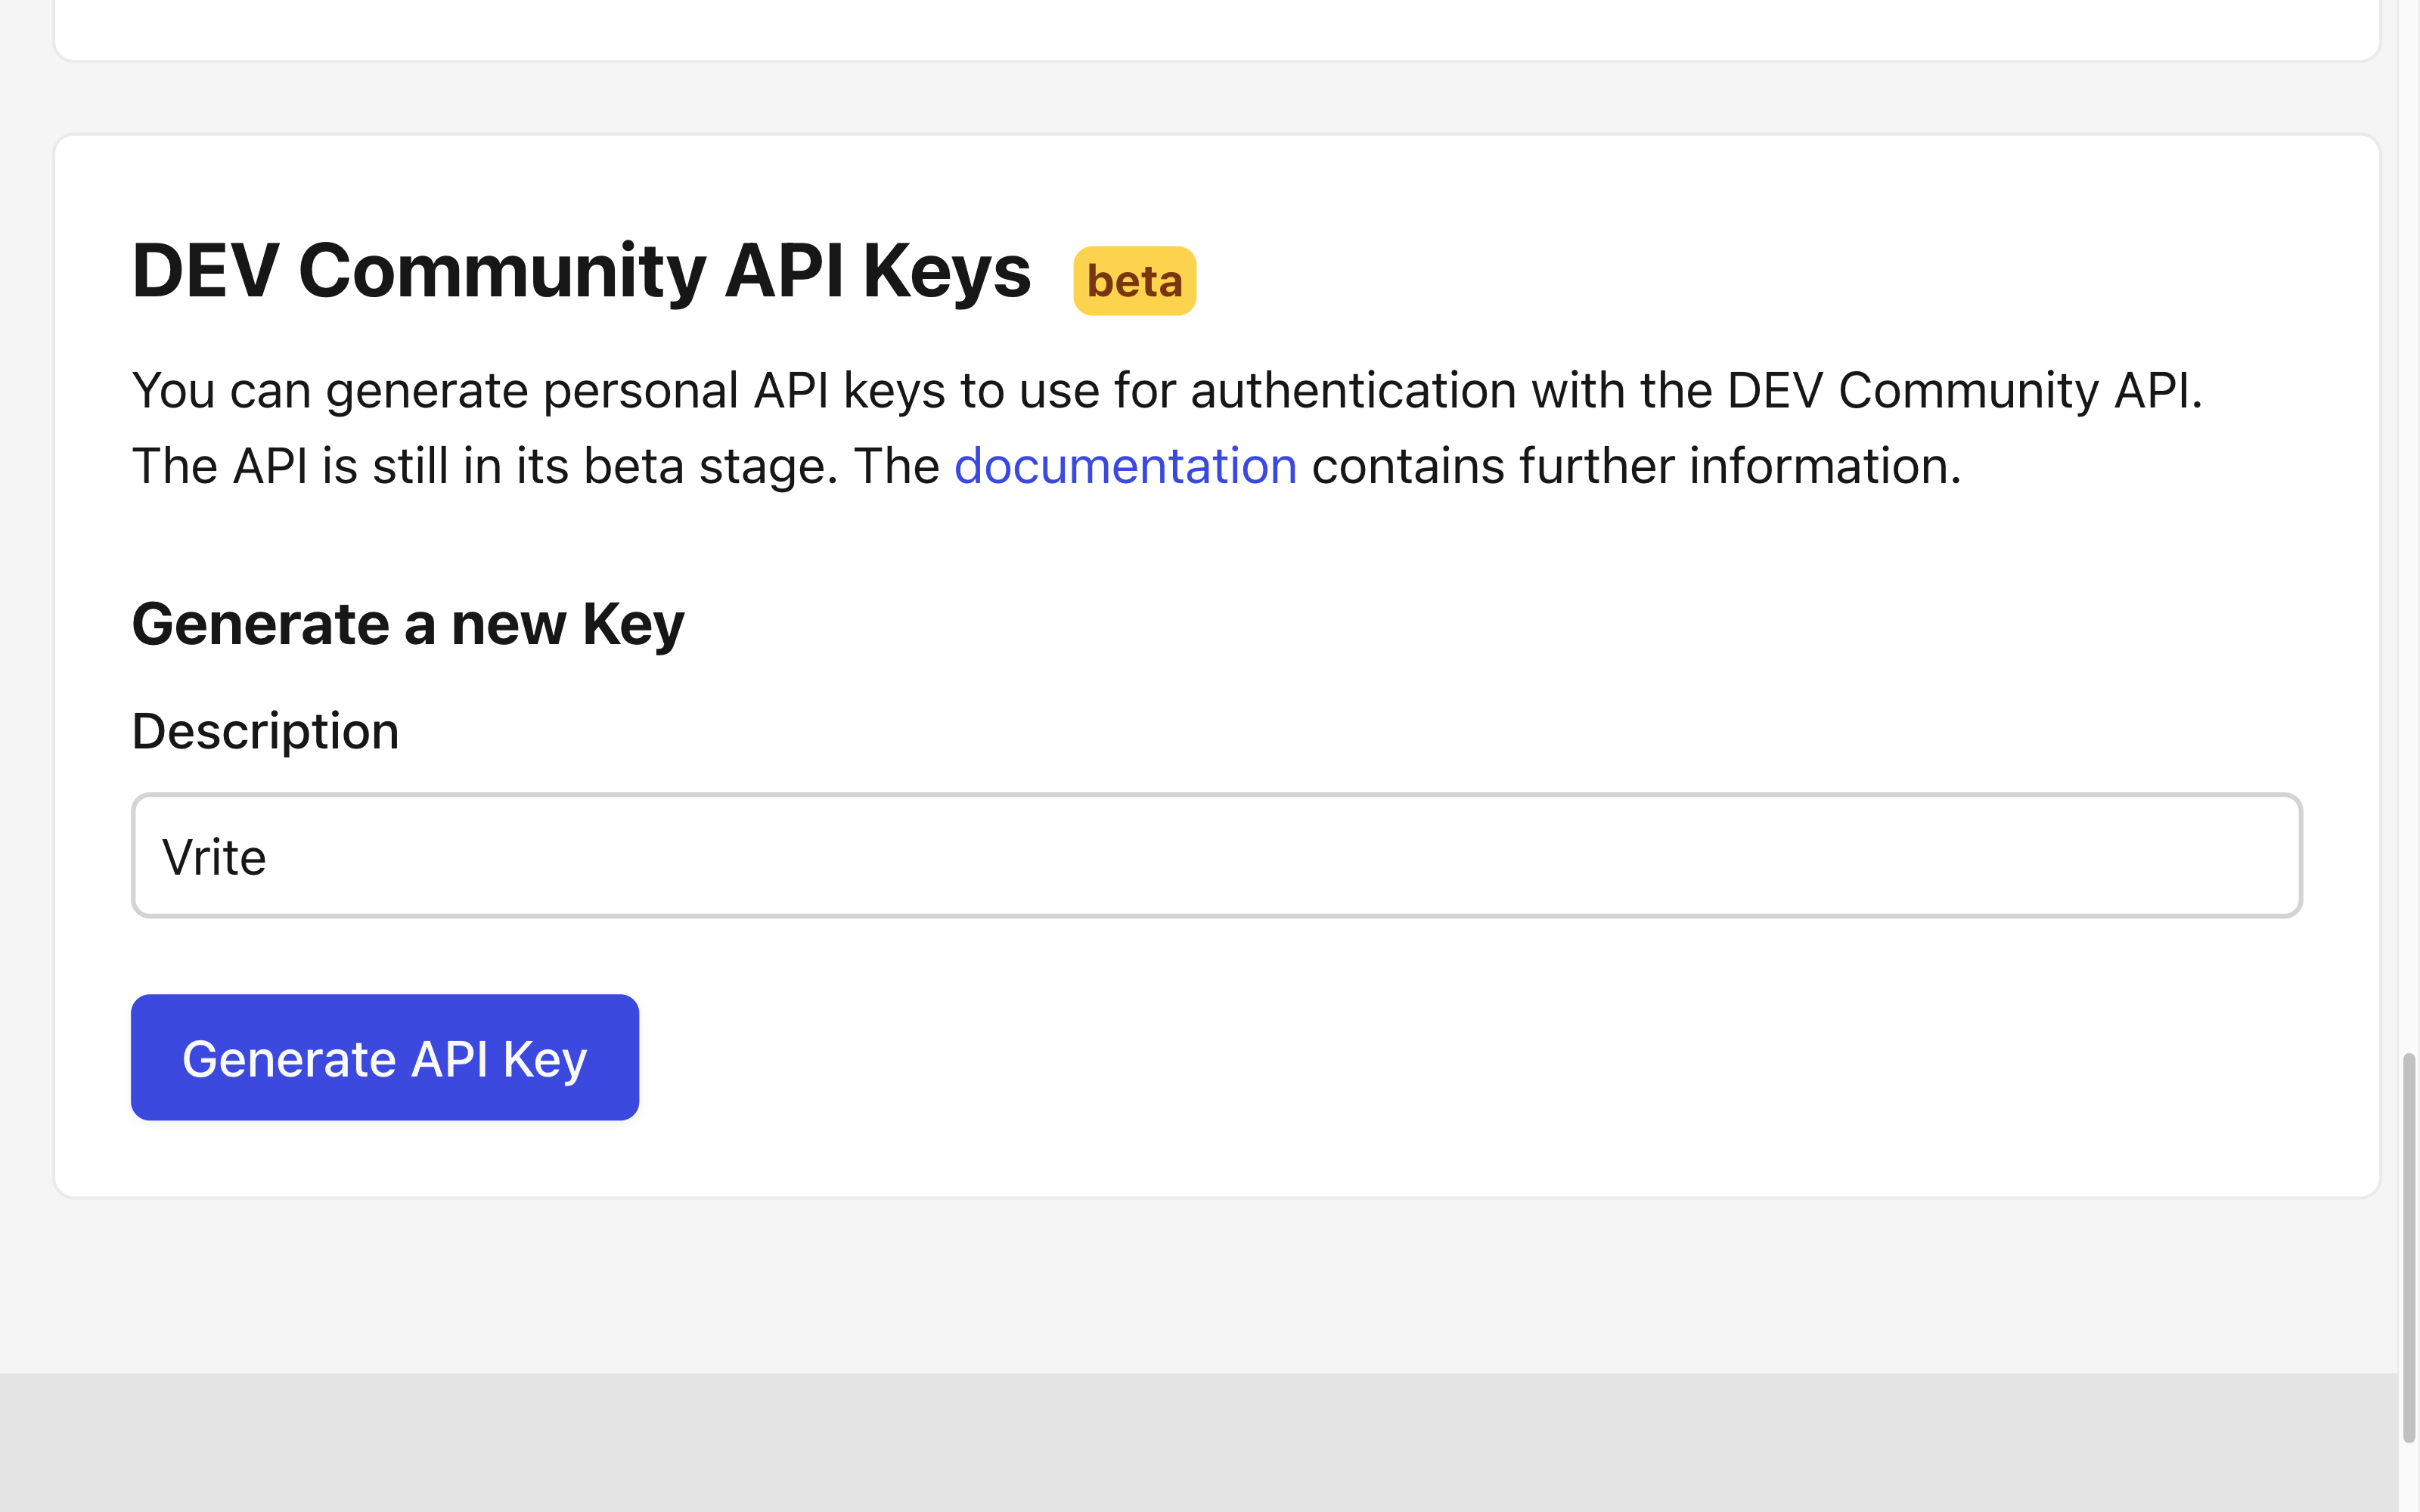
To retrieve your Dev.to API key, go to the bottom of the Extensions section in the DEV Settings: https://dev.to/settings/extensions
Here, add a description and Generate API Key. Once the new key is available, copy and paste it into the extension’s configuration.
Organization ID (optional)
If you want to publish the posts as an organization, you have to provide your Organization ID.
You can find it by going to your DEV dashboard (https://dev.to/dashboard) then switching from Personal to your organization view using the selection menu above the posts list and copying the organization ID from the URL:
https://dev.to/dashboard/organization/[ID]Content Group ID
The content group you want to automatically publish from. Once a content piece is moved directly to this content group, it’ll trigger a Webhook that’ll auto-publish the content piece on Dev.to.
You can copy the content group ID from the content group menu in either the dashboard or the explorer panel.
Require Canonical Link
When checked, the auto-publishing won’t trigger if the content piece doesn’t have a canonical link assigned. Useful when cross-posting the content to e.g. Dev.to and your own blog.
Auto-publish
Whether to enable auto-publishing for all content pieces by default.
Draft
Whether the article should be marked as a draft on the Dev.to platform (not publically visible).
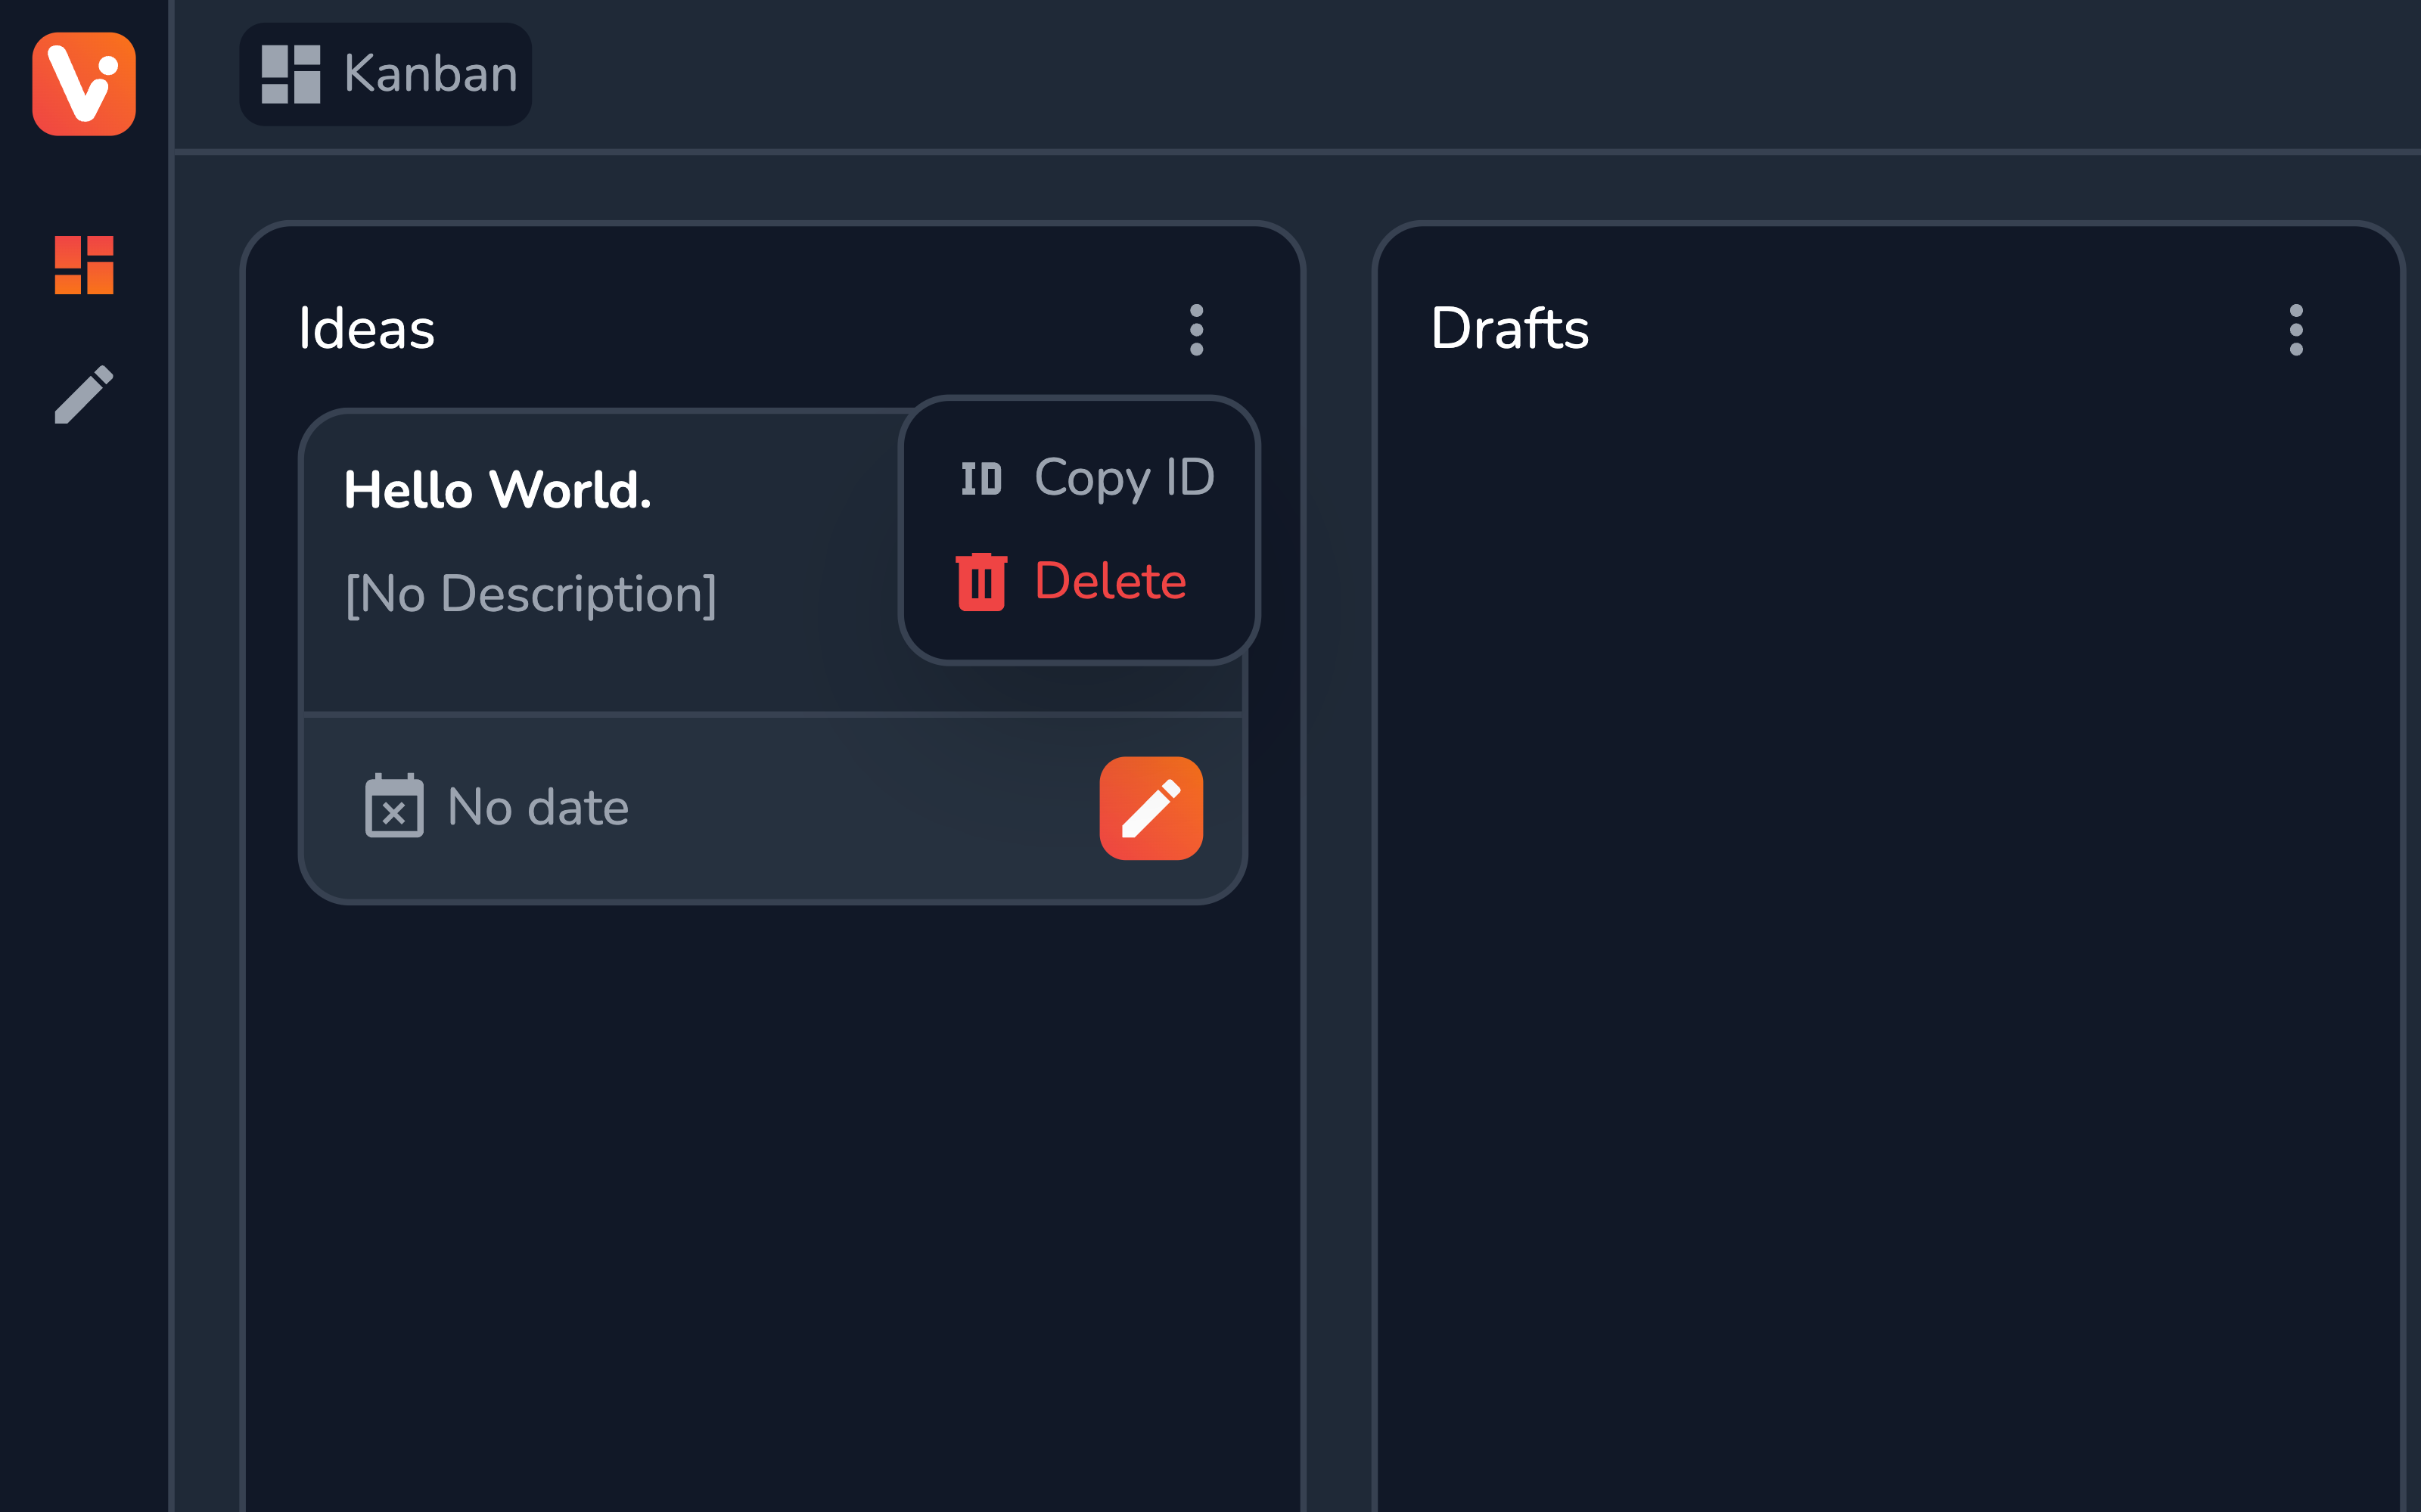
Usage
With auto-publish enabled, once ready, simply move (drag and drop) the content piece from e.g. Drafts content group to the one configured e.g. Published. You should see the article published on Dev.to shortly after.
The extension also provides a content piece view (available from the Extensions section of the Content piece side panel.
From here, you can customize the Auto-publish and Draft per the given content piece, and also set a Series name to associate the article with, once it’s published on DEV.
Finally, with or without the auto-publishing enabled, you can easily publish “manually” using the Publish button.

The Future of Vrite
Currently, the extension system is only available on the Vrite Cloud, which is a paid product with a free trial available.
The extensions will be opened for self-hosting once the API is stabilized and all (or most) of the necessary features are implemented (i.e. permission control, an official extension store, versioning, and development tools).
Apart from the extension system, with features like sharing, and built-in front-ends in the pipeline, the future of Vrite looks exciting!